Surgical Extraction Procedures: A Comprehensive Guide
Medi Study Go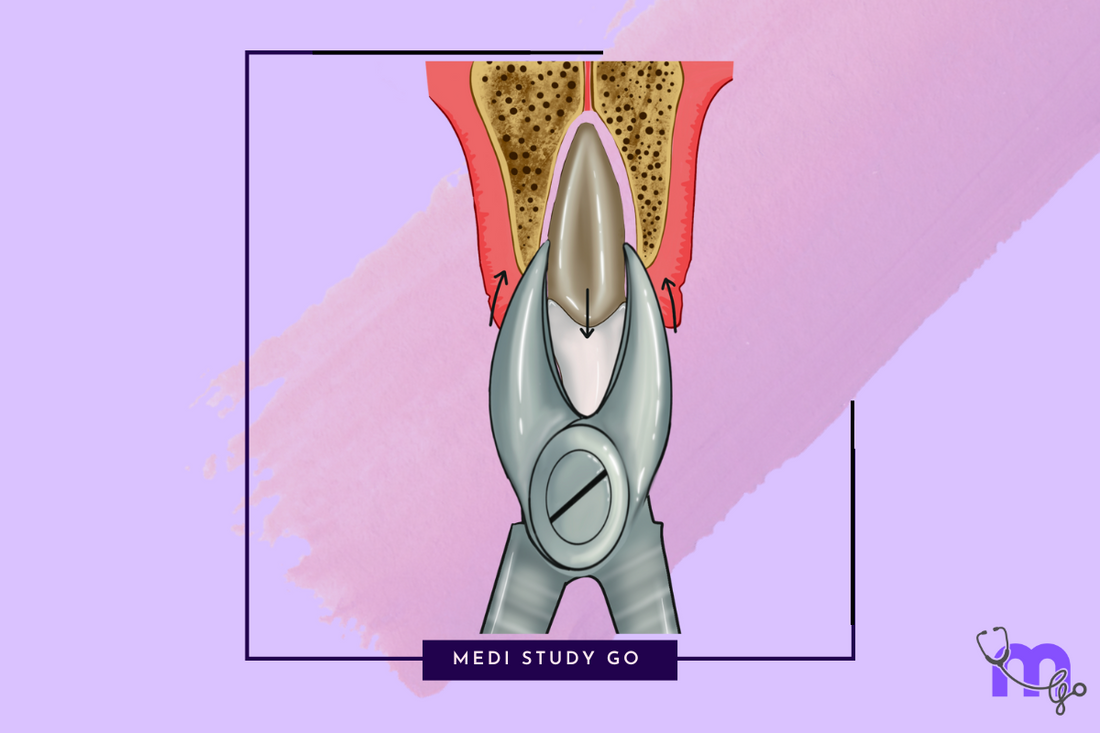
Related Resources
- Comprehensive Guide to Exodontia: Principles, Procedures, and Best Practices
- Complete Guide to Indications and Contraindications for Tooth Extraction
- Dental Extraction Instruments & Techniques: A Complete Guide
- Managing Complications in Tooth Extraction
- Post-Extraction Care and Healing
Introduction
While simple extractions are adequate for many cases, surgical extraction procedures become necessary when teeth present with certain anatomical or pathological challenges. These procedures require additional steps beyond routine forceps extraction, including flap elevation, bone removal, and often sectioning of the tooth.
This guide provides a detailed overview of surgical extraction techniques, with particular emphasis on impacted mandibular third molars, which represent the most common surgical extraction procedure. Understanding these principles and techniques is crucial for managing complex cases and minimizing complications.
Indications for Surgical Extraction
Surgical extraction becomes necessary in various clinical scenarios:
- Impacted teeth - partially or completely covered by bone or soft tissue
- Ankylosed teeth - fusion between tooth and surrounding bone
- Teeth with dilacerated or bulbous roots
- Hypercementosed teeth
- Teeth with significant bone density
- Fractured teeth with retained roots
- Teeth in proximity to vital structures requiring controlled removal
- Failed simple extraction attempts
- Teeth in areas of previous surgical procedures
- Teeth affected by pathological conditions (e.g., extensive caries, external resorption)
Principles of Surgical Tooth Extraction
Successful surgical extractions are guided by several fundamental principles:
1. Adequate Access and Visibility
- Proper patient positioning
- Appropriate lighting
- Sufficient mouth opening
- Well-designed and properly reflected flaps
- Effective retraction of soft tissues
2. Controlled Force Application
- Precise direction and magnitude of force
- Avoidance of excessive force that may damage surrounding structures
- Application of force through appropriate instruments
3. Preservation of Vital Structures
- Identification and protection of anatomical structures
- Minimal trauma to surrounding tissues
- Conservation of alveolar bone when possible
4. Aseptic Technique
- Strict adherence to sterilization protocols
- Proper preparation of surgical site
- Minimization of contamination risks
5. Efficient Wound Management
- Thorough debridement and irrigation
- Appropriate management of bone edges
- Tension-free primary closure when indicated
Principles and Types of Flap Design in Surgical Extractions
The design of the mucoperiosteal flap is critical for successful surgical extractions, providing adequate access while ensuring good healing.
Basic Principles of Flap Design:
- Adequate Access: Flap should provide sufficient visibility and access to the surgical site
- Blood Supply Preservation: Design should maintain adequate vascularity to the flap
- Tension-Free Closure: Flap should allow for closure without tension
- Minimal Trauma: Incisions should be clean, with minimal trauma to tissues
- Anatomical Considerations: Design should respect anatomical structures
- Bone Support: Adequate bone support should remain for optimal healing
- Esthetics: Consider final appearance, especially in anterior regions
Common Flap Designs for Surgical Extractions:
1. Envelope Flap
- Design: Sulcular incision extending one tooth mesially and distally from the tooth to be extracted
- Advantages: Simple, maintains blood supply, easy closure
- Indications: Extractions requiring minimal access, single-tooth extractions
- Limitations: Limited access, potential for tearing
2. Triangular Flap (Three-Cornered Flap)
- Design: Sulcular incision with single vertical releasing incision, typically at the mesial line angle
- Advantages: Better access than envelope flap, less tension during retraction
- Indications: Most surgical extractions, impacted mandibular third molars
- Limitations: Potential scarring at vertical incision
3. Trapezoidal Flap (Four-Cornered Flap)
- Design: Sulcular incision with two vertical releasing incisions
- Advantages: Maximum access and visibility
- Indications: Complex surgical extractions, multiple adjacent extractions
- Limitations: More complex closure, potential scarring
4. Semilunar Flap
- Design: Curved incision in the attached gingiva following the contour of the attached gingiva
- Advantages: No suturing required, simple design
- Indications: Limited use, primarily for periapical surgeries
- Limitations: Poor access, potential for scarring, may compromise blood supply
5. Bayonet Flap
- Design: Modified triangular flap with oblique releasing incision
- Advantages: Good access to distal aspect of mandibular third molar
- Indications: Impacted mandibular third molars
- Limitations: More complex design
Flap Management Considerations:
-
Incision Technique:
- Use sharp scalpel (#15 blade typically)
- Incise down to bone in one clean stroke
- Ensure clean margins for better healing
-
Flap Reflection:
- Use periosteal elevator for careful reflection
- Maintain periosteal attachment to flap
- Reflect full-thickness flap to expose adequate bone
-
Retraction:
- Use appropriate retractors to maintain access
- Avoid excessive pressure that may damage flap
- Periodically release retraction to prevent ischemia
-
Closure:
- Ensure proper repositioning of flap
- Use appropriate suture material (typically 3-0 or 4-0)
- Achieve tension-free closure
- Remove sutures within 7-10 days
Surgical Extraction Procedure for Mandibular Third Molar
The removal of impacted mandibular third molars represents one of the most common surgical extraction procedures. The approach varies based on the type and degree of impaction.
Classification of Mandibular Third Molar Impactions:
Pell and Gregory Classification:

-
Relationship to Ramus:
- Class I: Sufficient space between ramus and distal of second molar
- Class II: Reduced space between ramus and distal of second molar
- Class III: Tooth completely within the ramus
-
Depth Classification:
- Position A: Occlusal plane of impacted tooth at same level as occlusal plane of second molar
- Position B: Occlusal plane between occlusal plane and cervical line of second molar
- Position C: Occlusal plane below cervical line of second molar
Winter's Classification (Based on Angulation):

- Mesioangular impaction (Most common)
- Horizontal impaction
- Vertical impaction
- Distoangular impaction
- Buccoangular/Linguoangular impaction
- Inverted impaction
Step-by-Step Procedure for Mandibular Third Molar Removal:
1. Preoperative Assessment
- Clinical and radiographic evaluation
- Determine impaction type and difficulty
- Plan approach based on assessment
- Adequate anesthesia (Inferior alveolar, lingual, and buccal nerve blocks)
2. Flap Design and Reflection
- Most commonly used: triangular flap or modified envelope flap
- Incision from anterior border of ramus to distobuccal line angle of second molar, then sulcular to mesial aspect
- Full thickness mucoperiosteal flap reflection
3. Bone Removal (Ostectomy)
-
Buccal Guttering Technique (Postage Stamp Technique):
- Remove bone on buccal and distal aspects
- Create a "gutter" around the tooth crown
- Use round bur with copious irrigation
- Extent depends on degree of impaction
- Preserve lingual cortical plate
-
Occlusal Reduction:
- Reduce occlusal bone to expose crown
- Important in deeply positioned impactions (Position C)
4. Tooth Sectioning (Odontectomy)
Based on impaction type:
-
Mesioangular Impaction:
- Section crown from mesial to distal at crown-root junction
- Remove crown, then elevate roots
-
Horizontal Impaction:
- Section at midcrown from occlusal to cervical
- May require additional sectioning of roots
-
Vertical Impaction:
- May not require sectioning if sufficient bone removal
- For deeper impactions, section crown from roots
-
Distoangular Impaction:
- Section crown at distobuccal aspect
- May require multiple sections depending on difficulty
General Principles of Sectioning:
- Use straight fissure or tapered fissure bur
- Do not section completely through tooth to avoid damage to lingual nerve
- Complete sectioning with elevator as a wedge
- Ensure adequate irrigation to prevent thermal damage
- Section tooth into manageable portions
5. Tooth Delivery
- After sectioning, remove segments sequentially
- Use appropriate elevators (typically Cryer, Winter, or Warwick James)
- Apply controlled force in planned direction
- Protect lingual tissues during elevation
6. Socket Management
- Inspect socket for retained fragments
- Remove pathological tissue if present
- Irrigate thoroughly with sterile saline
- Smooth sharp bony edges
- Control bleeding with pressure or hemostatic agents if needed
7. Wound Closure
- Reposition flap to original position
- Suture without tension (typically interrupted sutures)
- Ensure primary closure in most cases
- Consider drain placement for extensive procedures
Specialized Surgical Extraction Techniques
1. Transalveolar Technique
Used for deeply impacted teeth or retained roots:
- Create window in buccal cortical plate
- Remove bone to create path for tooth removal
- May involve sectioning of tooth
- Beneficial for roots displaced into maxillary sinus or near mandibular canal
2. Lingual Split Technique
An alternative approach for mandibular molars:
- Split lingual plate along with tooth
- Generally not recommended due to high risk of lingual nerve damage
- Reserved for specific situations by experienced clinicians
3. Coronectomy (Partial Odontectomy)
For high-risk cases near inferior alveolar nerve:
- Intentional retention of vital roots
- Removal of crown only
- Indicated when complete removal poses significant risk to inferior alveolar nerve
- Contraindicated in cases of infection or mobility of the tooth
Management of Specific Challenging Situations
1. Maxillary Third Molars
- Often require less bone removal than mandibular counterparts
- Key concerns: maxillary tuberosity fracture, sinus communication
- Technique modifications:
- Controlled force application
- Adequate stabilization of maxilla
- Sectioning when necessary to prevent tuberosity fracture
2. Deeply Impacted Teeth
- Extensive bone removal may be required
- Consider sectioning into multiple fragments
- Approach from direction of least resistance
- May require special armamentarium (e.g., Seldin retractors, Molt curettes)
3. Root Fragments/Root Tips
- Assess visibility and accessibility
- Use specialized root tip picks or elevators
- Consider "window" technique for deeply positioned fragments
- In some cases, leaving very small, deeply positioned fragments may be appropriate
4. Ankylosed Teeth
- Identify through clinical and radiographic examination
- Require more extensive bone removal
- Often necessitate sectioning
- Consider referral for complex cases
Postoperative Care After Surgical Extraction
Proper postoperative care is essential for uneventful healing:
Immediate Care
- Bite on gauze for 30-60 minutes
- Apply ice pack intermittently (20 minutes on, 10 minutes off)
- Maintain head elevation
- Avoid vigorous rinsing or spitting
Medications
- Analgesics for pain management
- Antibiotics when indicated
- Anti-inflammatory medications as appropriate
Diet and Oral Hygiene
- Soft diet for 24-48 hours
- Advance diet as tolerated
- Gentle rinsing with warm salt water after 24 hours
- Careful brushing avoiding surgical site
Follow-up Care
- Suture removal in 7-10 days
- Monitoring for complications
- Instructions regarding when to seek immediate care
Conclusion
Surgical extraction procedures require thorough knowledge of anatomy, proper technique, and appropriate instrumentation. The principles and techniques outlined in this guide form the foundation for successful management of complex extraction cases.
For dental students preparing for the NEET MDS exam, understanding these principles and techniques is essential for both theoretical knowledge and clinical competence. Regular practice under proper supervision will help develop the skills necessary for successful surgical extractions.
As with all surgical procedures, continuous learning and refinement of techniques through experience will enhance outcomes and minimize complications.