How to Prepare Rest Seats: Step-by-Step Guide
Medi Study Go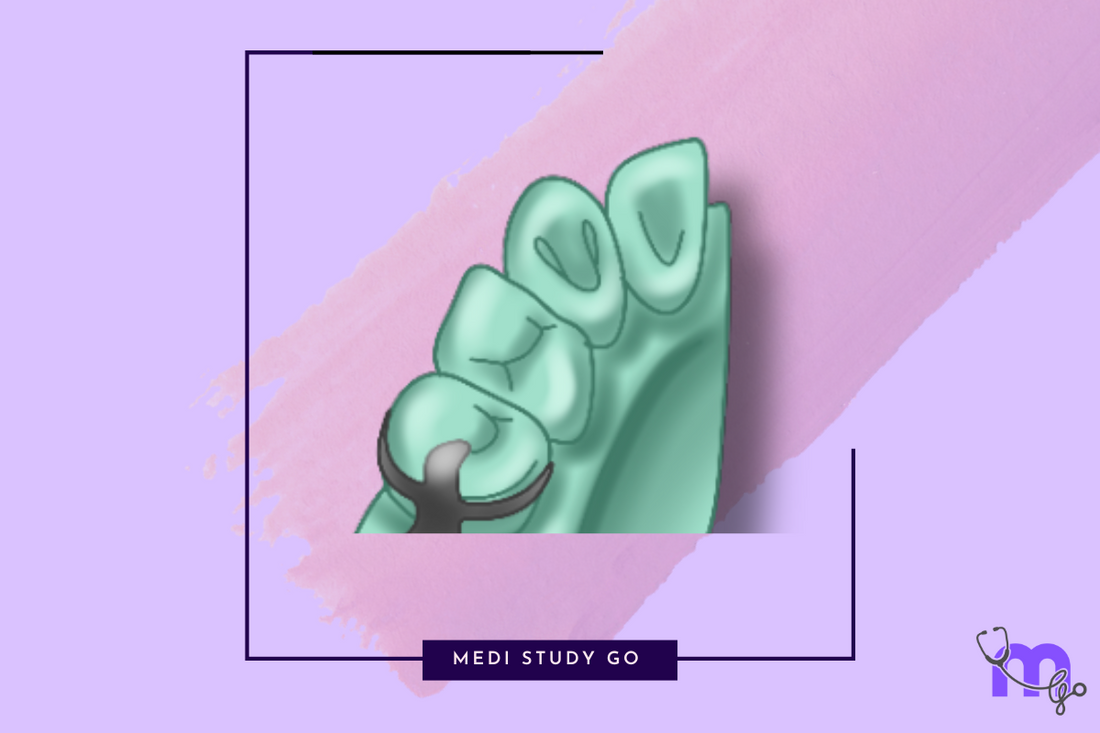
Introduction
The proper preparation of rest seats for partial denture is a critical skill for dental professionals. This comprehensive guide provides detailed, step-by-step instructions for preparing various types of rest seats, ensuring optimal support, stability, and longevity for removable partial dentures. Whether you're a dental student preparing for NEET MDS examinations or a practicing dentist refining your clinical techniques, mastering these preparation methods is essential for successful prosthodontic treatment.
Related Resources
- Complete Guide to Rest and Rest Seats in Removable Partial Dentures
- Understanding Rest Seats for Partial Dentures
- What Are Rest Seats: Comprehensive Explanation
- Rest and Rest Seats in RPD: Clinical Applications
- Functions of Rest and Rest Seats: Biomechanical Principles
Essential Principles of Rest Seat Preparation
Before delving into specific techniques, understanding these fundamental principles will ensure successful rest seat preparation:
Biomechanical Principles
- Force Direction: Rest seats should direct forces along the long axis of the tooth to minimize harmful lateral stresses.
- Support Adequacy: The preparation must provide sufficient support to prevent denture movement toward the tissue.
- Stress Distribution: Proper contours help distribute forces evenly across the tooth structure.
- Structural Preservation: Maintain adequate tooth structure while creating functional rest seats.
General Guidelines for All Rest Seat Preparations
Regardless of the type of rest seat being prepared, these general principles apply:
- Conservative Approach: Remove only the necessary amount of tooth structure.
- Smooth Transitions: Create gradual transitions between different planes to prevent stress concentration.
- Rounded Internal Forms: Avoid sharp line angles that could lead to stress concentration.
- Polished Surfaces: Ensure all surfaces are smooth to prevent plaque accumulation and enhance patient comfort.
- Clear Margins: Create definitive margins for proper rest adaptation.
Required Instruments and Materials
For effective rest seat preparation, these instruments are essential:
Rotary Instruments
- Round diamond burs (small and medium sizes)
- Flame-shaped diamond burs
- Finishing burs
- Polishing points and cups
Hand Instruments
- Explorers
- Periodontal probes (for measuring depth)
- Articulating paper and holder
- Mouth mirrors
Additional Materials
- Local anesthetic (if needed)
- Rubber dam (for isolation when appropriate)
- Temporary restorative materials (if preparing rest seats on existing restorations)
Preparation Techniques for Different Types of Rest Seats
Occlusal Rest Seat Preparation

Occlusal rest seats are the most common type of rest seats in RPD. Follow these steps for proper preparation:
Step 1: Assessment and Planning
- Evaluate the occlusal anatomy of the tooth
- Identify the marginal ridge and central groove
- Assess occlusal clearance in maximum intercuspation
- Plan the outline and extent of the preparation
Step 2: Initial Preparation
- Begin with a round diamond bur
- Create the outline form extending from the marginal ridge toward the central groove
- Establish the width of approximately 2.5 mm buccolingually
- Ensure the preparation extends at least one-third the buccolingual width of the tooth
Step 3: Establishing Depth
- Create a depth of approximately 1.5 mm at the marginal ridge
- Gradually decrease the depth as you move toward the central groove
- The floor should slope gently from the deepest point at the marginal ridge
- Verify the depth using a periodontal probe
Step 4: Contouring the Marginal Ridge
- Reduce the marginal ridge to create an angle less than 90° with the proximal surface
- Round the junction between the marginal ridge and the rest seat
- This prevents food impaction and ensures a smooth transition
Step 5: Refining and Finishing
- Use finishing burs to create a spoon-shaped depression
- Eliminate any sharp line angles or rough surfaces
- Round all internal line angles to prevent stress concentration
- Polish the preparation thoroughly
Step 6: Verification
- Check the preparation dimensions using a periodontal probe
- Verify that the preparation has adequate depth and width
- Ensure smooth transitions between the rest seat and surrounding tooth structure
- Check occlusion to ensure no interference in maximum intercuspation
Incisal Rest Seat Preparation
Incisal rest seats are typically prepared on anterior teeth, especially canines. Follow these steps:
Step 1: Assessment and Planning
- Evaluate the incisal edge thickness and contour
- Determine the optimal location (usually slightly off-center, often mesial)
- Assess occlusal clearance in all excursive movements
- Plan the outline and extent of the preparation
Step 2: Initial Preparation
- Use a small round diamond bur
- Create a notch on the incisal edge, usually at the mesial or distal third
- Establish a width of approximately 2.5 mm mesiodistally
- Ensure the preparation does not compromise the structural integrity of the tooth
Step 3: Establishing Depth
- Create a depth of approximately 1.5 mm
- The depression should be concave in form
- Verify the depth using a periodontal probe
- Ensure adequate enamel thickness remains
Step 4: Contouring
- Create a gradual slope from the incisal edge toward the lingual surface
- Round all internal line angles
- Ensure the preparation blends smoothly with the existing tooth contour
Step 5: Refining and Finishing
- Use finishing burs to create a smooth, concave depression
- Eliminate any sharp line angles or rough surfaces
- Polish the preparation thoroughly
Step 6: Verification
- Check the preparation dimensions using a periodontal probe
- Verify that the preparation has adequate depth and width
- Check occlusion to ensure no interference in protrusive and lateral movements
Cingulum Rest Seat Preparation
Cingulum rest seats offer better esthetics for anterior teeth. Follow these steps:
Step 1: Assessment and Planning
- Evaluate the prominence and development of the cingulum
- Assess the lingual contour of the tooth
- Determine if the cingulum is adequate for rest seat preparation
- Plan the outline and extent of the preparation
Step 2: Initial Preparation
- Use a small round diamond bur
- Begin at the center of the cingulum
- Create an outline form that follows the natural contour of the cingulum
- Establish adequate width for stable support
Step 3: Establishing Depth
- Create a depth of approximately 1-1.5 mm
- The depression should be concave in form
- Ensure adequate enamel thickness remains
- Verify the depth using a periodontal probe
Step 4: Contouring
- Create a gradual slope from the periphery toward the center of the preparation
- Round all internal line angles
- Ensure the preparation blends smoothly with the existing tooth contour
Step 5: Refining and Finishing
- Use finishing burs to create a smooth, concave depression
- Eliminate any sharp line angles or rough surfaces
- Polish the preparation thoroughly
Step 6: Verification
- Check the preparation dimensions using a periodontal probe
- Verify that the preparation has adequate depth and width
- Ensure the preparation follows the natural contour of the tooth
- Check that the preparation does not interfere with occlusion
Lingual Rest Seat Preparation
Lingual rest seats extend onto the lingual surface of anterior teeth. Follow these steps:
Step 1: Assessment and Planning
- Evaluate the lingual contour of the tooth
- Assess the thickness of the lingual enamel
- Determine the optimal location and extent of the preparation
- Plan the outline form
Step 2: Initial Preparation
- Use a small round diamond bur
- Begin at the lingual surface, slightly incisal to the cingulum area
- Create an outline form that extends gingivally
- Establish adequate width for stable support
Step 3: Establishing Depth
- Create a depth of approximately 1 mm
- The depression should be concave in form
- Ensure adequate enamel thickness remains
- Verify the depth using a periodontal probe
Step 4: Contouring
- Create a gradual slope from the periphery toward the center of the preparation
- Round all internal line angles
- Ensure the preparation blends smoothly with the existing tooth contour
Step 5: Refining and Finishing
- Use finishing burs to create a smooth, concave depression
- Eliminate any sharp line angles or rough surfaces
- Polish the preparation thoroughly
Step 6: Verification
- Check the preparation dimensions using a periodontal probe
- Verify that the preparation has adequate depth and width
- Ensure the preparation follows the natural contour of the tooth
- Check that the preparation does not interfere with occlusion
Preparing Rest Seats on Different Dental Materials
Rest Seats on Natural Teeth
When preparing rest seats for dentures on natural teeth:
- Maintain adequate enamel thickness to prevent sensitivity
- Create definitive but conservative preparations
- Polish thoroughly to prevent plaque accumulation
- Consider the age of the patient and pulp size
Rest Seats on Existing Restorations
Amalgam Restorations
- Evaluate the integrity and extent of the restoration
- Ensure adequate thickness to prevent fracture
- Create smooth transitions between the restoration and tooth structure
- Consider replacing inadequate restorations before preparing rest seats
Composite Restorations
- Assess material strength and integrity
- Use appropriate burs designed for composite preparation
- Create definitive margins for proper rest adaptation
- Polish thoroughly to prevent degradation and staining
Rest Seats on Crowns
Preparing rest seats on crowns requires specific approaches:
Metal Crowns
- Use diamond burs designed for metal preparation
- Create definitive preparations with adequate depth
- Polish thoroughly to prevent framework wear
- Ensure smooth transitions and rounded internal forms
Porcelain-Fused-to-Metal Crowns
- Determine whether to prepare the rest seat in metal or porcelain
- If preparing in porcelain:
- Use diamond burs with copious water cooling
- Apply light pressure to prevent porcelain fracture
- Create shallow but definitive preparations
- If preparing in metal (preferred):
- Follow the guidelines for metal crown preparation
- Ensure smooth transitions to adjacent porcelain
All-Ceramic Crowns
- Exercise extreme caution to prevent fracture
- Use fine-grit diamond burs with copious water cooling
- Create shallow preparations (approximately 1 mm depth)
- Consider alternative rest designs if the ceramic is thin or at risk of fracture
Common Mistakes to Avoid
1. Inadequate Depth
Problem: Insufficient depth results in rest displacement during function.
Solution: Always verify depth using a periodontal probe, ensuring 1.5 mm depth at the marginal ridge for occlusal rest seats.
2. Excessive Depth
Problem: Too much depth can weaken the tooth structure or approach the pulp.
Solution: Be conservative while still creating functional preparations, and always consider pulp position.
3. Sharp Line Angles
Problem: Sharp internal angles create stress concentration points.
Solution: Round all internal line angles to distribute forces evenly.
4. Improper Width
Problem: Narrow rest seats provide inadequate support.
Solution: Ensure adequate width (approximately 2.5 mm for occlusal rest seats) to provide stable support.
5. Improper Marginal Ridge Angulation
Problem: Marginal ridge angle greater than 90° can lead to food impaction.
Solution: Reduce the marginal ridge to create an angle less than 90° with the proximal surface.
6. Rough Surfaces
Problem: Rough surfaces promote plaque accumulation and patient discomfort.
Solution: Polish all preparations thoroughly.
Special Considerations for Specific Clinical Scenarios
Periodontally Compromised Teeth
When preparing rest seats on teeth with reduced periodontal support:
- Distribute forces across multiple teeth when possible
- Consider embrasure rests to share the load between adjacent teeth
- Create shallower preparations to minimize stress
- Extend the outline form to distribute forces over a larger area
Heavily Restored Teeth
For teeth with extensive restorations:
- Evaluate the need for crown placement before rest seat preparation
- Consider incorporating rest seats into the design of new restorations
- Ensure adequate structural integrity to support occlusal loads
- Use restorative materials with appropriate strength properties
Esthetic Considerations
In visible areas where esthetics is paramount:
- Consider lingual or cingulum rest seats instead of incisal ones
- Explore options for internal rest seats incorporated into restorations
- Evaluate the possibility of tooth-colored framework components
- Position rest seats to minimize visibility during normal function and speech
Advanced Techniques
Embrasure Rest Preparation
For embrasure rest seats:
- Identify adjacent teeth with adequate proximal surfaces
- Prepare complementary rest seats on the proximal surfaces of both teeth
- Create a unified rest area that spans the embrasure
- Ensure smooth transitions between the two preparations
- Verify that the combined preparation provides adequate support
Internal Rest Seat Preparation
For internal rest seats:
- Design the rest seat as part of a restoration (inlay, onlay, or crown)
- Create a precisely defined recess within the restoration
- Ensure adequate material thickness to prevent fracture
- Verify proper rest adaptation during framework try-in
Tips for NEET MDS Preparation
For students studying for NEET MDS examinations:
- Practice identifying properly prepared rest seats in clinical images
- Study the standard dimensions and designs for different types of rest seats
- Review NEET previous year question papers for frequently tested concepts
- Use flashcards to memorize key preparation techniques and dimensions
- Practice drawing cross-sectional views of properly prepared rest seats
For last minute revision, focus on:
- Standard dimensions for different types of rest seats
- Step-by-step preparation sequences
- Common mistakes and their solutions
- Biomechanical principles behind rest seat design
Conclusion
Mastering the preparation of rest seats for partial denture is essential for successful removable prosthodontics. By following these step-by-step guidelines and understanding the underlying principles, dental professionals can create rest seats that provide optimal support, stability, and longevity for removable partial dentures.
Whether you're preparing for NEET MDS examinations or enhancing your clinical skills, thorough knowledge of rest seat preparation techniques will contribute significantly to your success in removable prosthodontics and patient satisfaction.